


12
Th10
Th10
Trong bài viết này Server Việt Nam sẽ hướng dẫn các bạn cấu hình Raid cho server Dell. Ở đây mình cấu hình cho server Dell R640( card raid H330 mini)
Khởi động máy và bấm phím F2 để vào System Setup
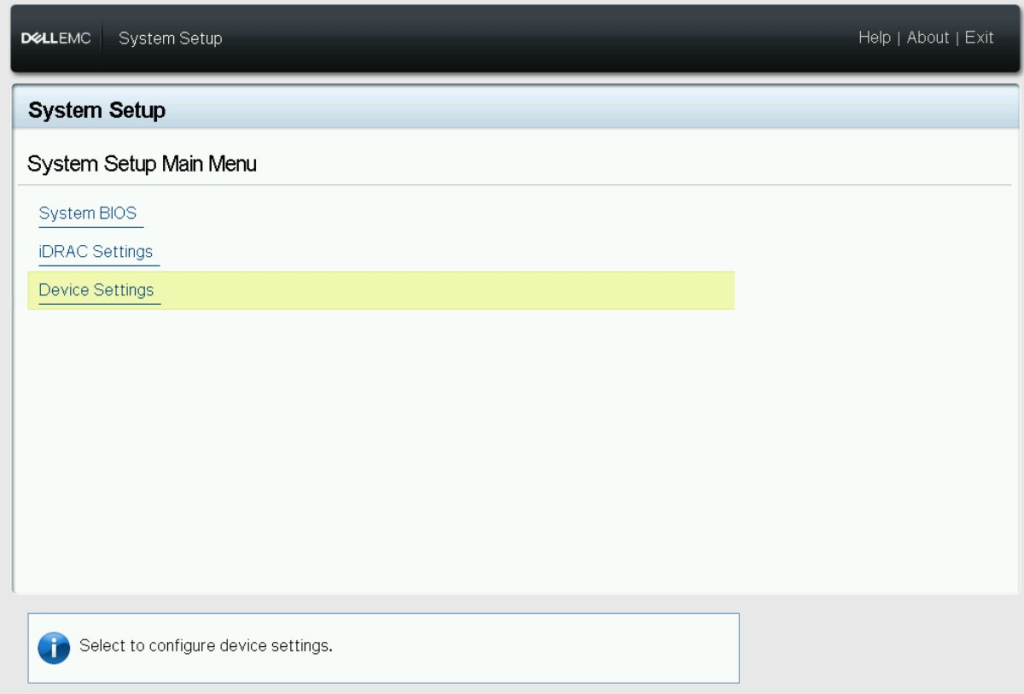
Chọn Device Settings.
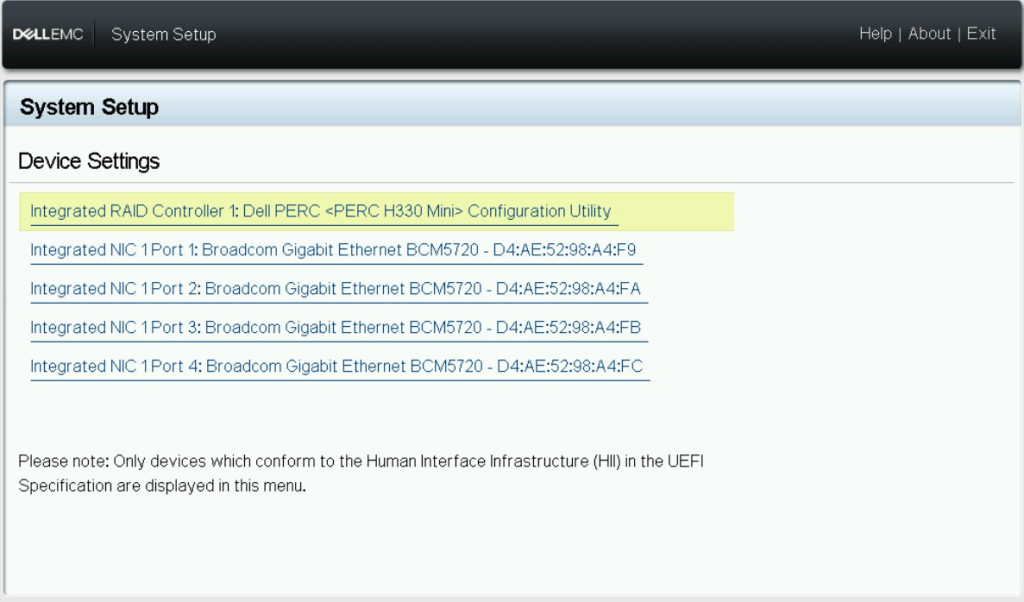
Chọn dòng RAID controller của card Raid.
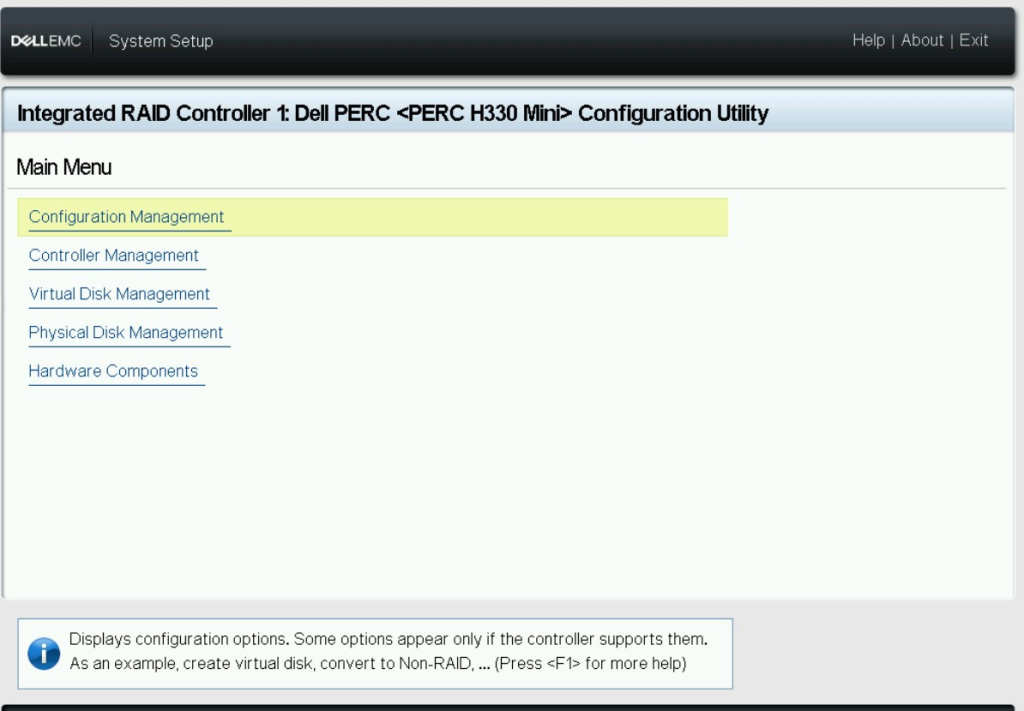
Chọn Configuration Management
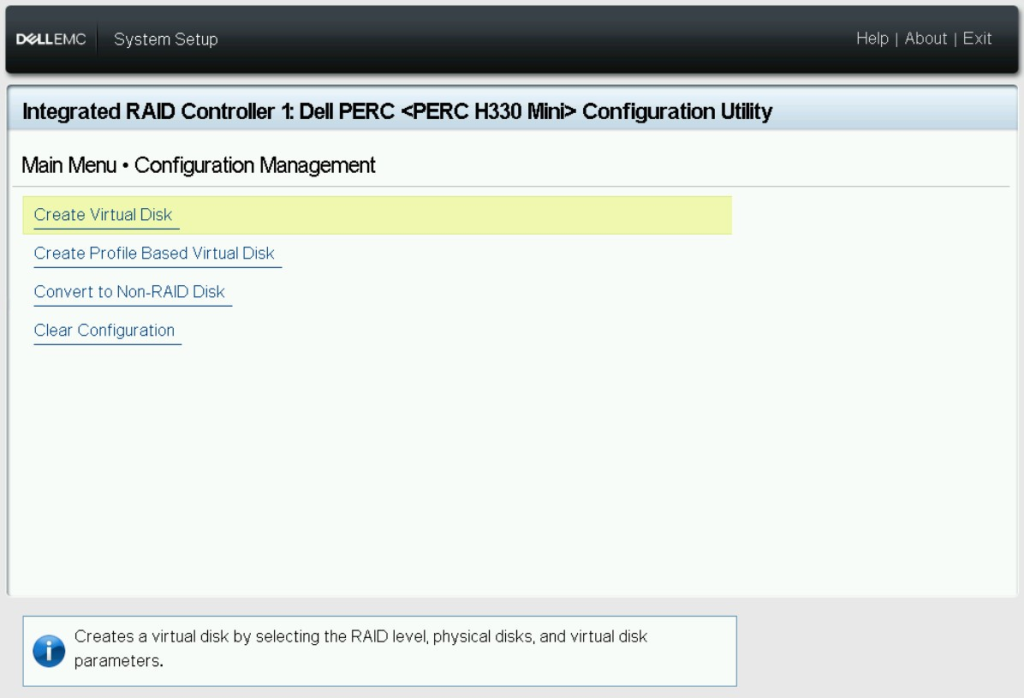
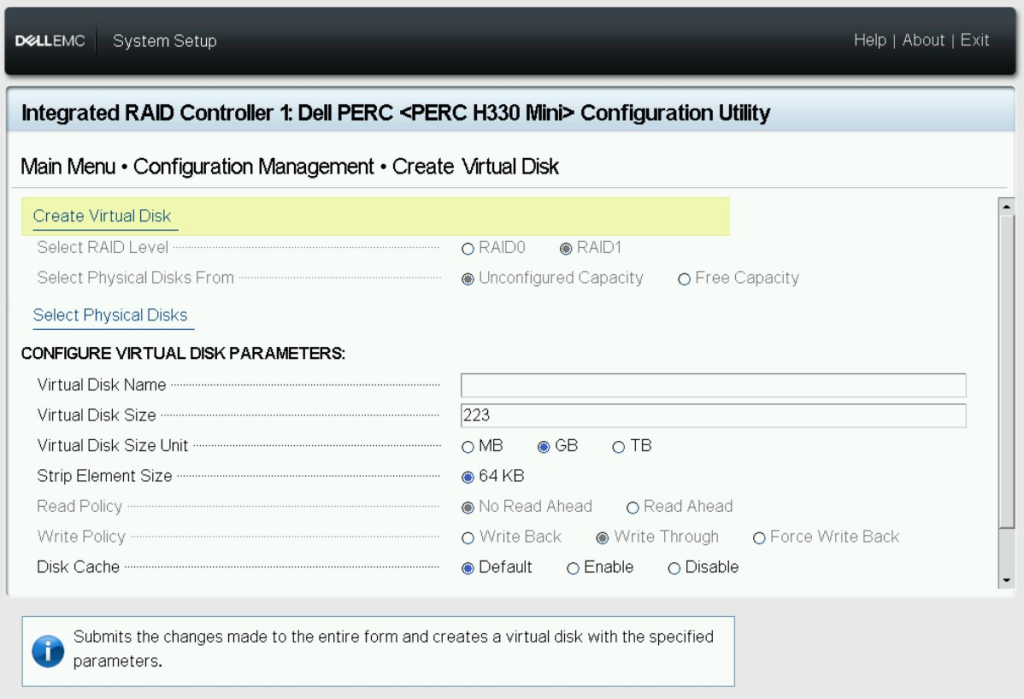
Chọn Create Virtual Disk
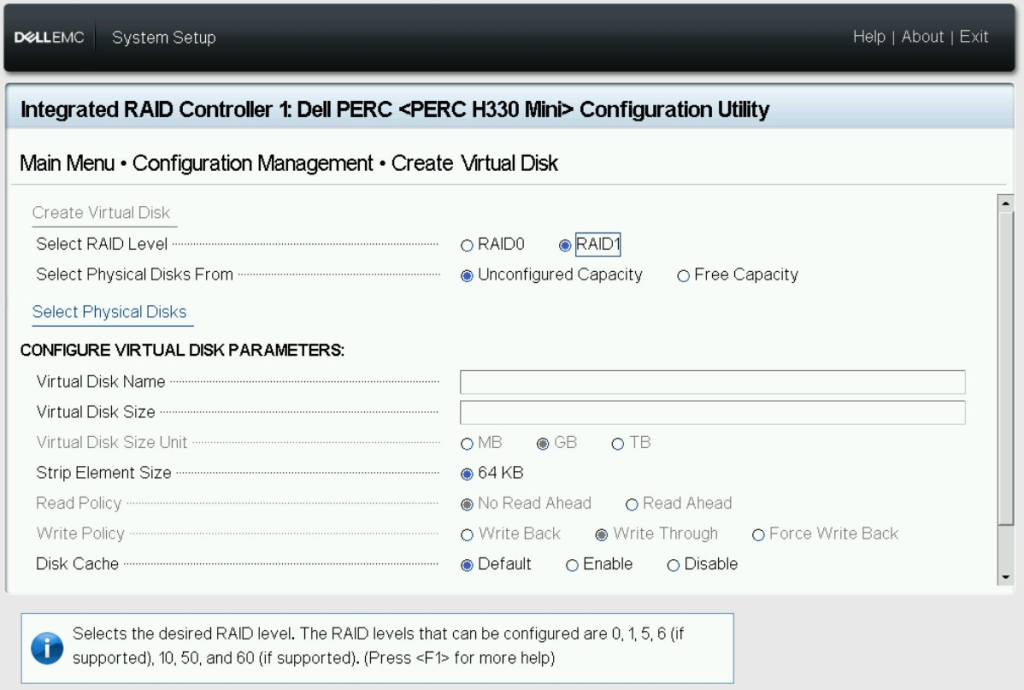
Chọn Select Physical Disks
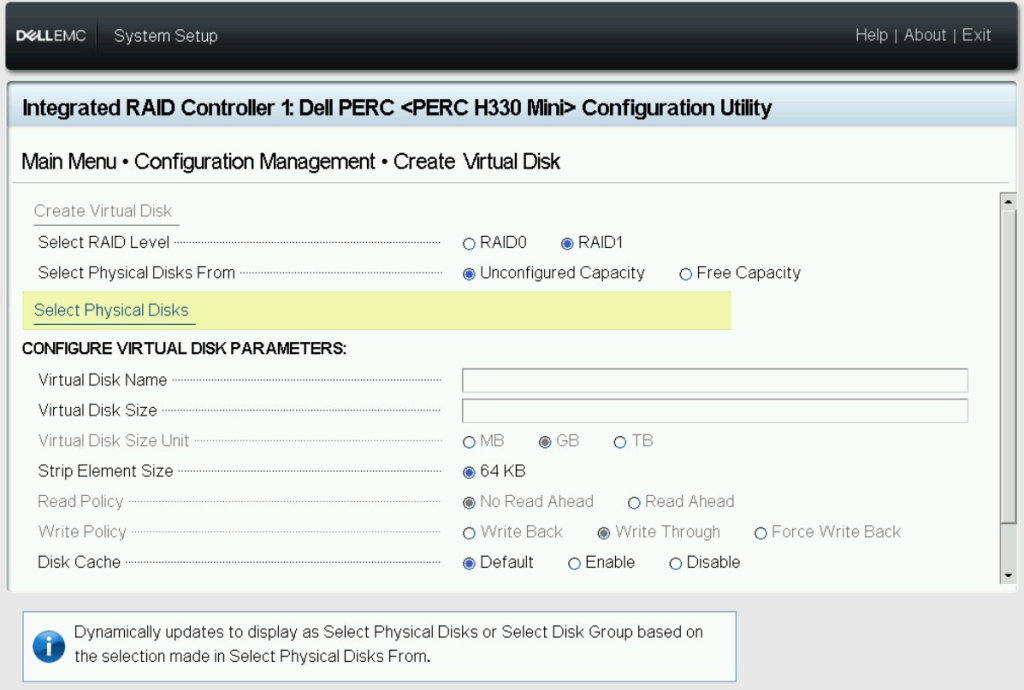
Chọn ổ cứng muốn cài Raid sau đó chọn Apply Changes.
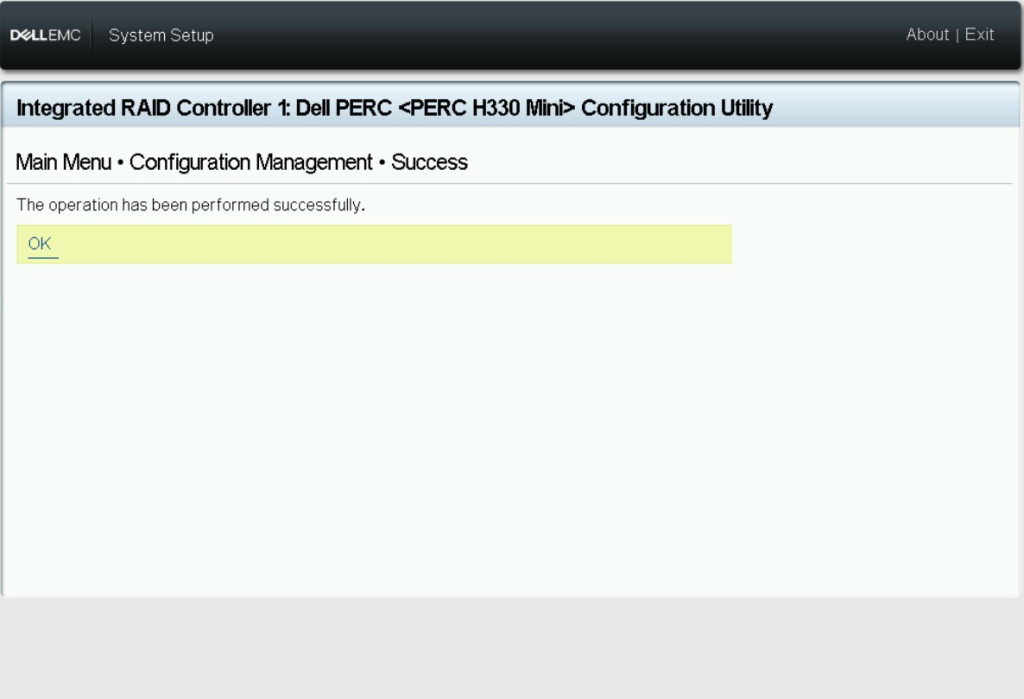
Chọn OK để tiếp tục.
Chọn Create Virtual Disk.
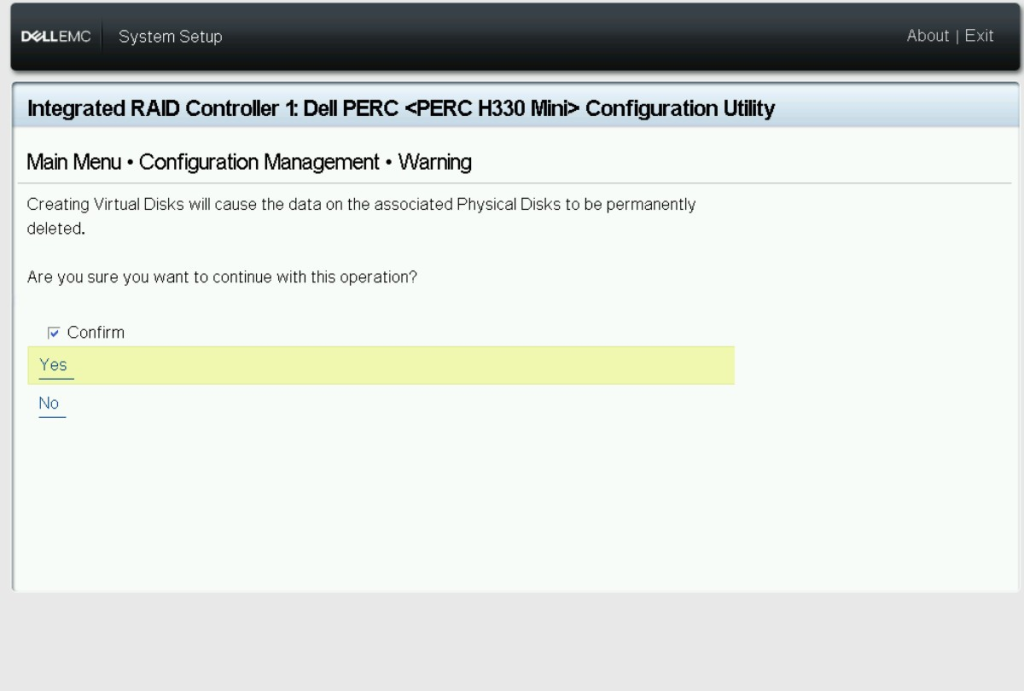
Check Confirm và chọn Yes.
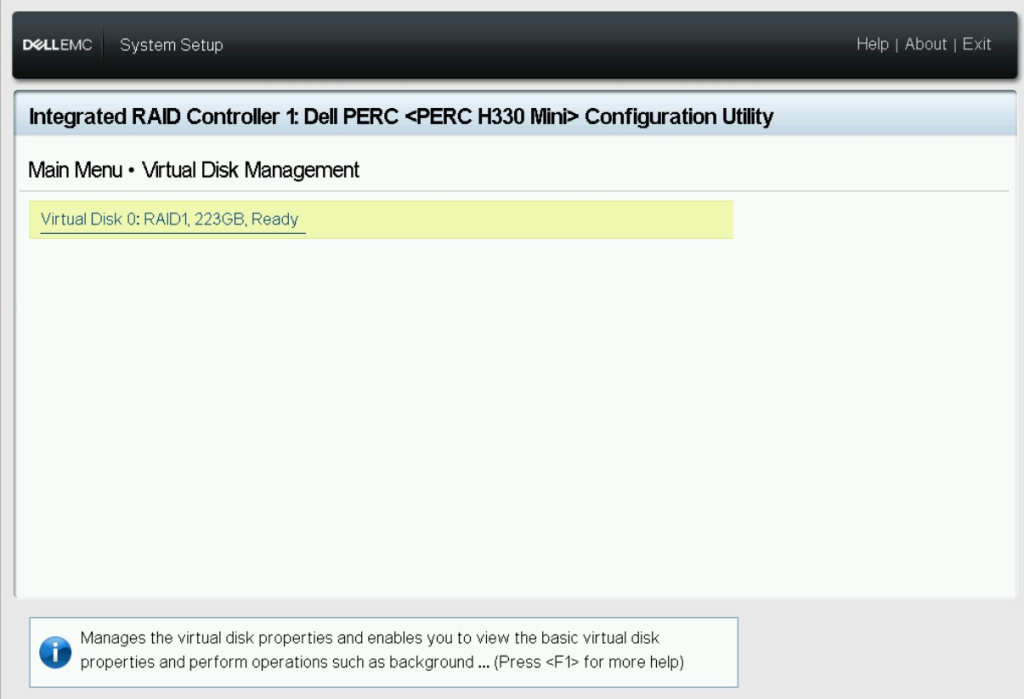
Kiểm tra The Virtual Disk
Chúc các bạn thành công trong việc cài Raid.